GitOps
The days of scripting kubectl apply and helm install in your operations are over. The kubefirst platform comes with all the tools you need to run a scalable GitOps platform powered by Argo CD GitOps.


The Benefits of GitOps
The benefit of defining your desired state in a declarative way in Git is enormous.
- An audit log of every system change including who made and who approved the change is available.
- A secure main branch of the GitOps repository makes for very easy security and approval controls for system changes.
- Easy to understand rollbacks (just revert the Git commit that caused the problem and you'll be on the last version).
- The declarative state in Git significantly reduces the complexity of disaster recovery.
- Creating new environments is as straight-forward as duplicating directory structures.
- Having everything declared in the GitOps repository means everyone can agree to the source of truth for every version of every app.
Pipelines


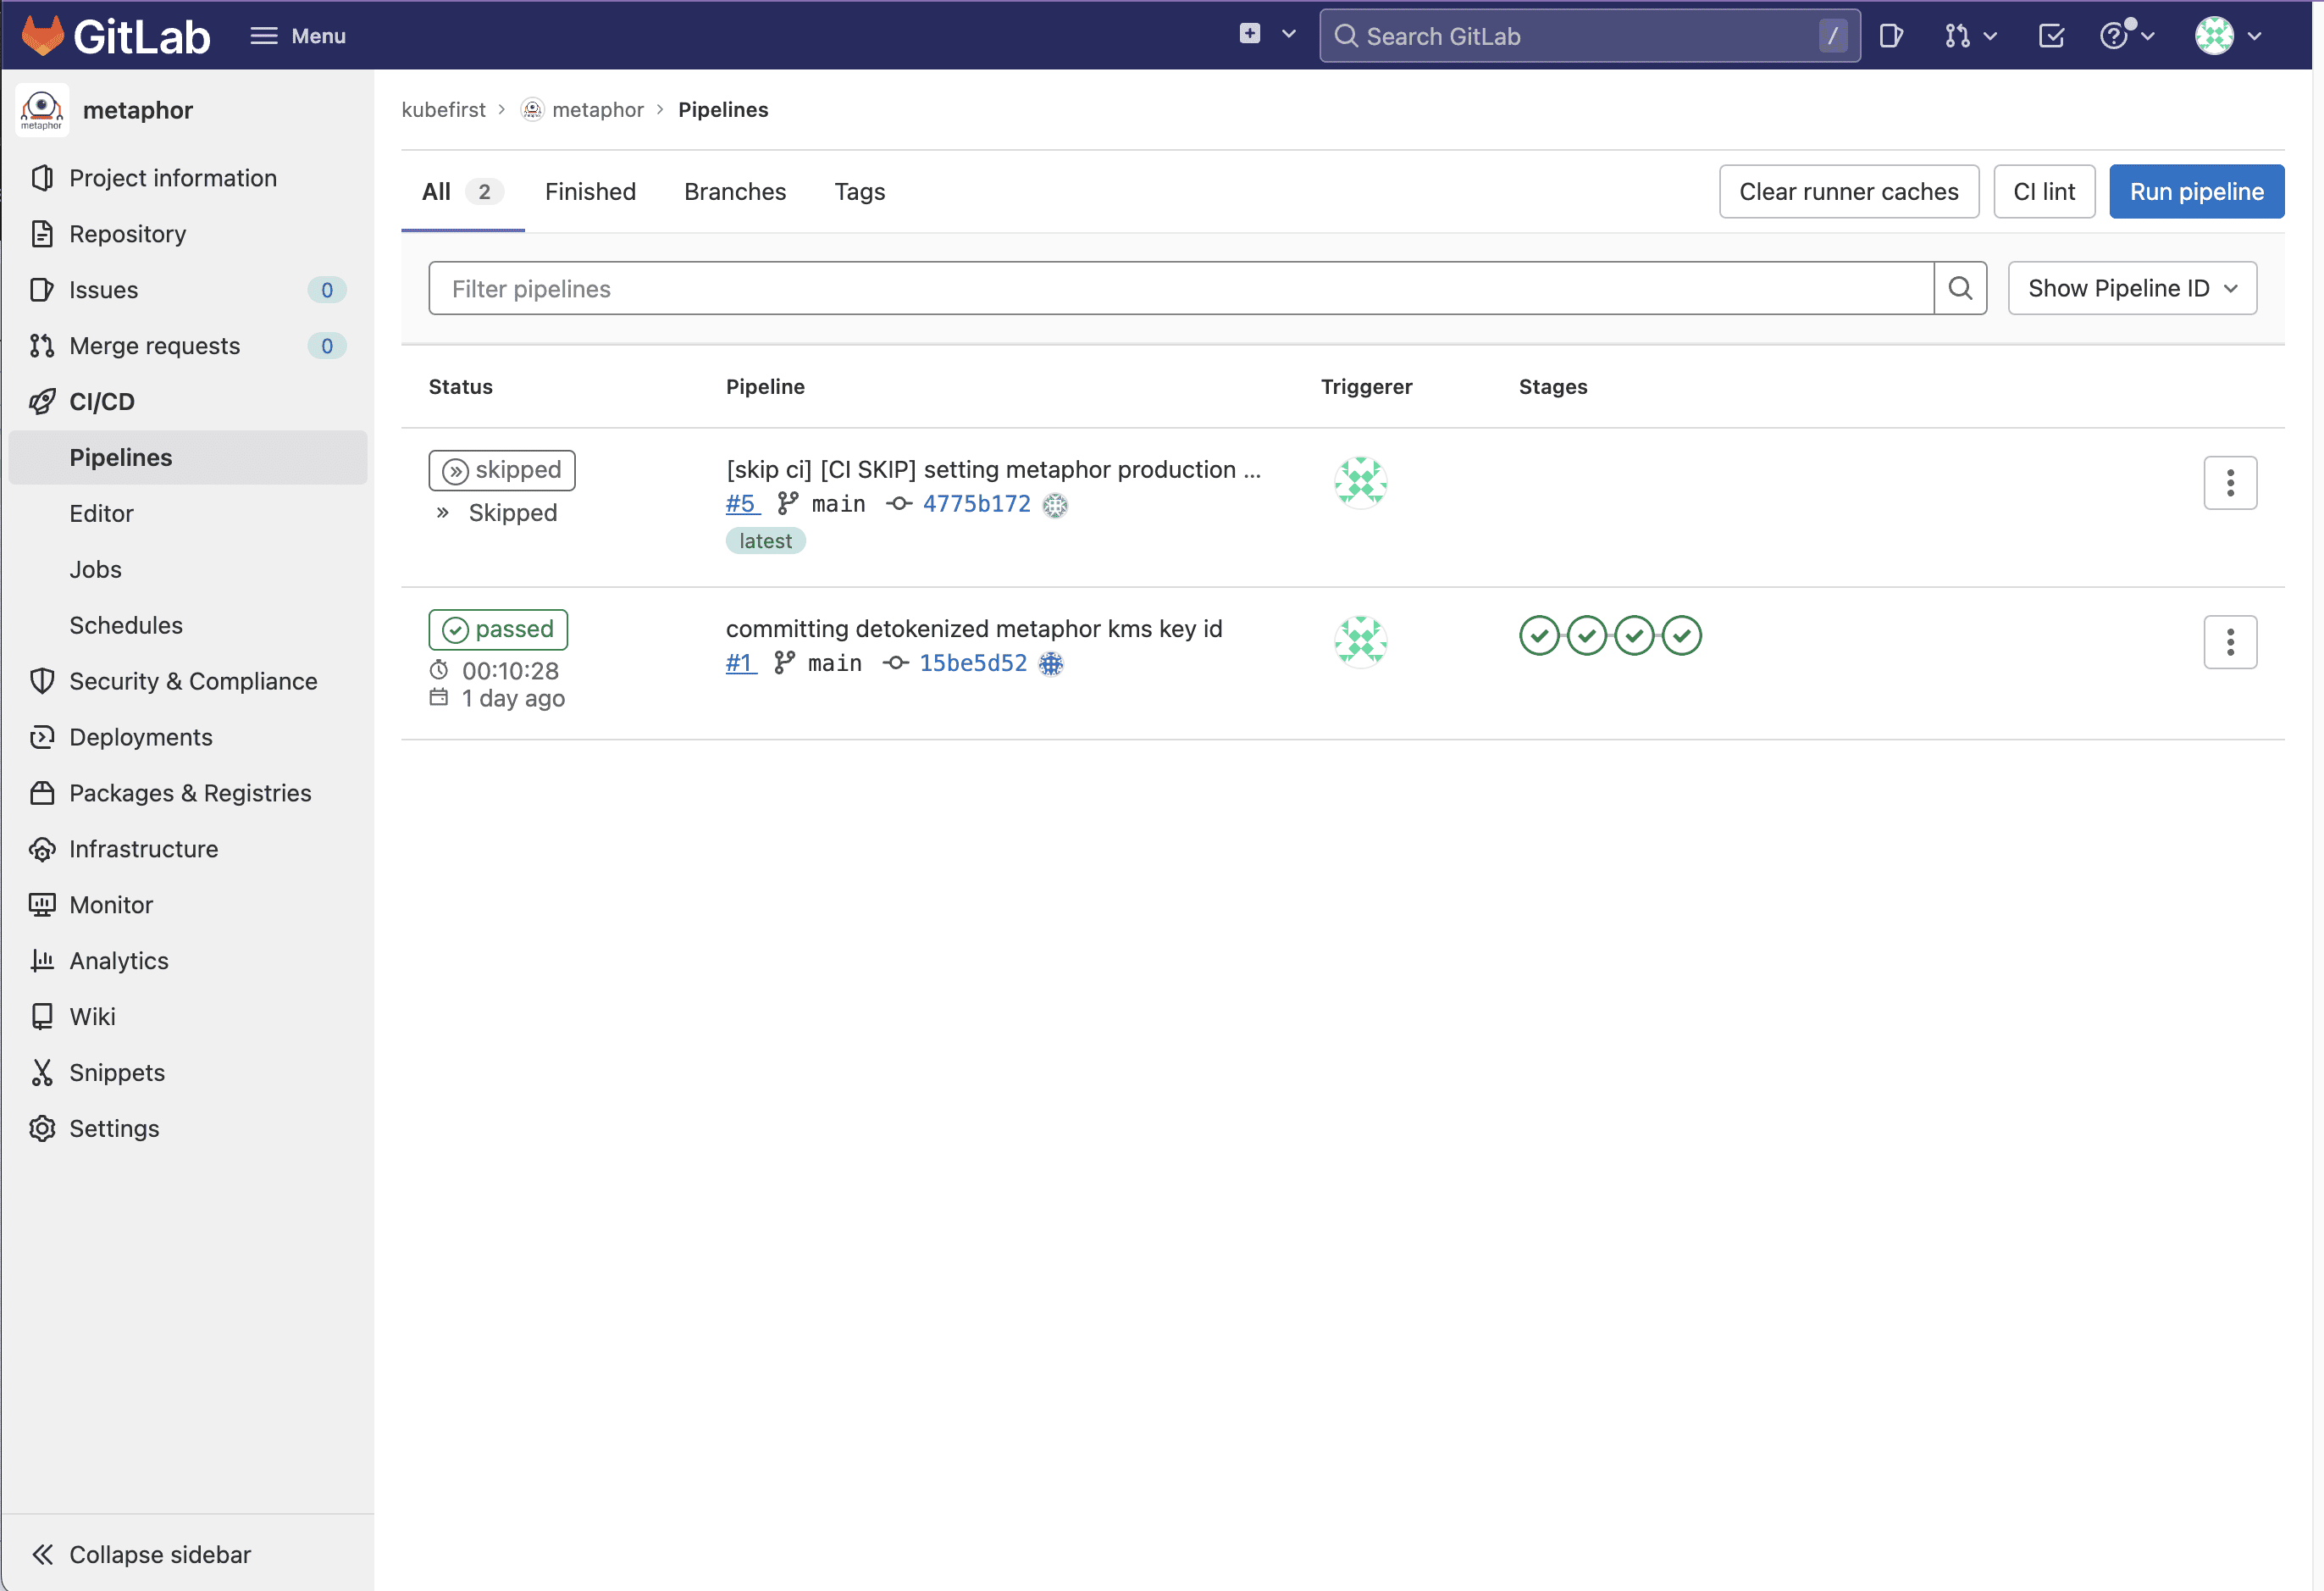
Our CI pipelines originate in your privately hosted git repository trigger mechanism (GitHub Actions or GitLab CI) with a workflow being submitted to Argo Workflows. The workflows will publish your container with a pre-release Helm chart.
The pipelines then continue with promotion of the release through the preprod environments.
Once the release is ready, the release chart is published and delivered to production, and the application chart's version will be prepared for the next release.
- GitHub Integration with Argo Workflows
- GitLab Integration with Argo Workflows
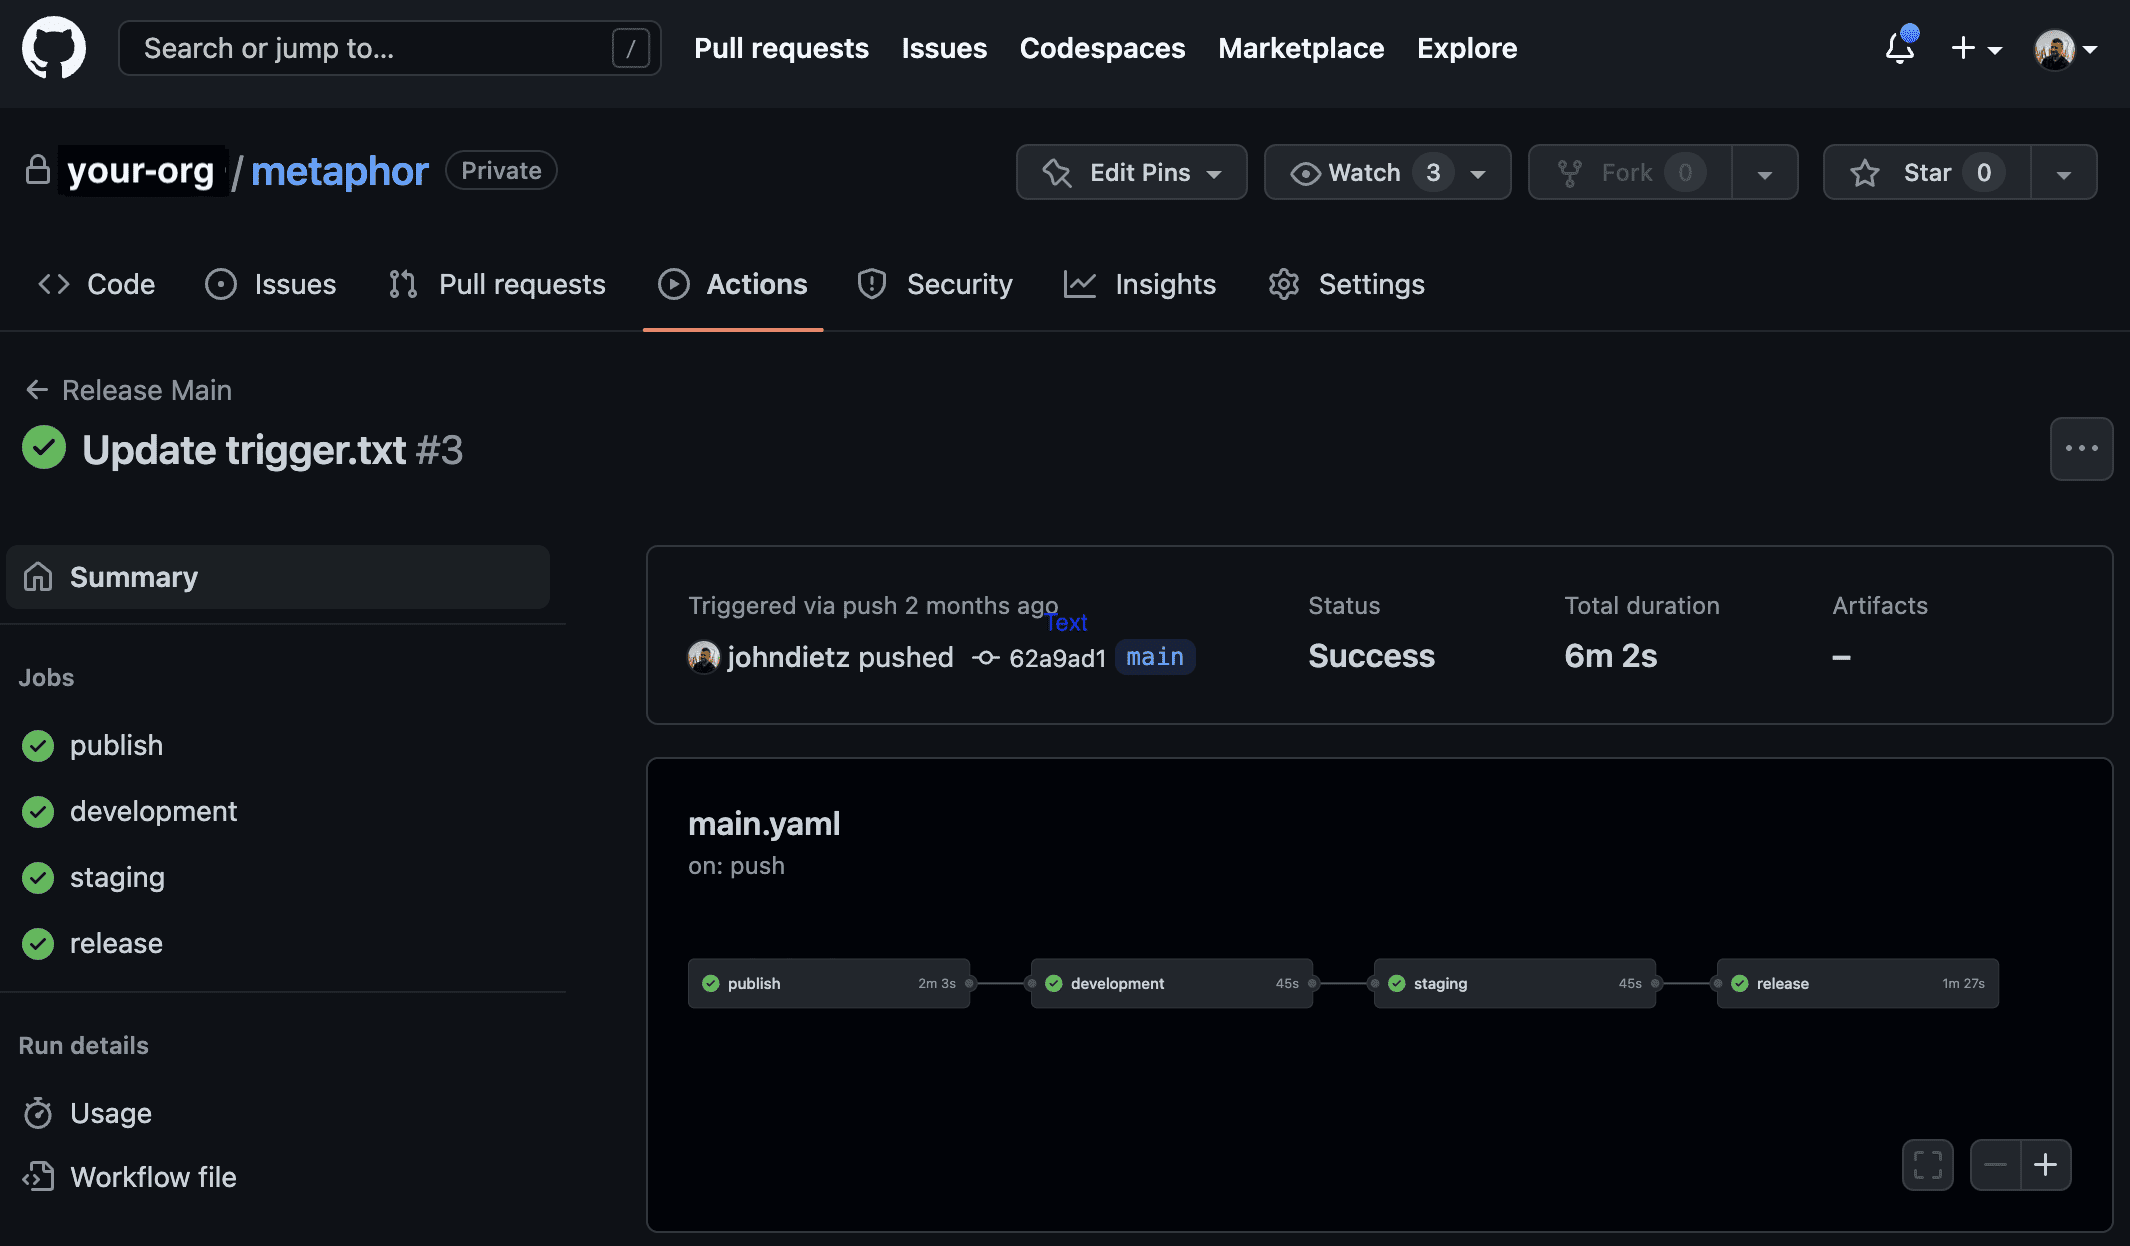
The integration that we've established between GitHub and Argo Workflows will surface your powerful Argo Workflows engine directly in GitHub Actions, so that your developers have all of the workflow execution information available, directly associated with their commit in their application repository.
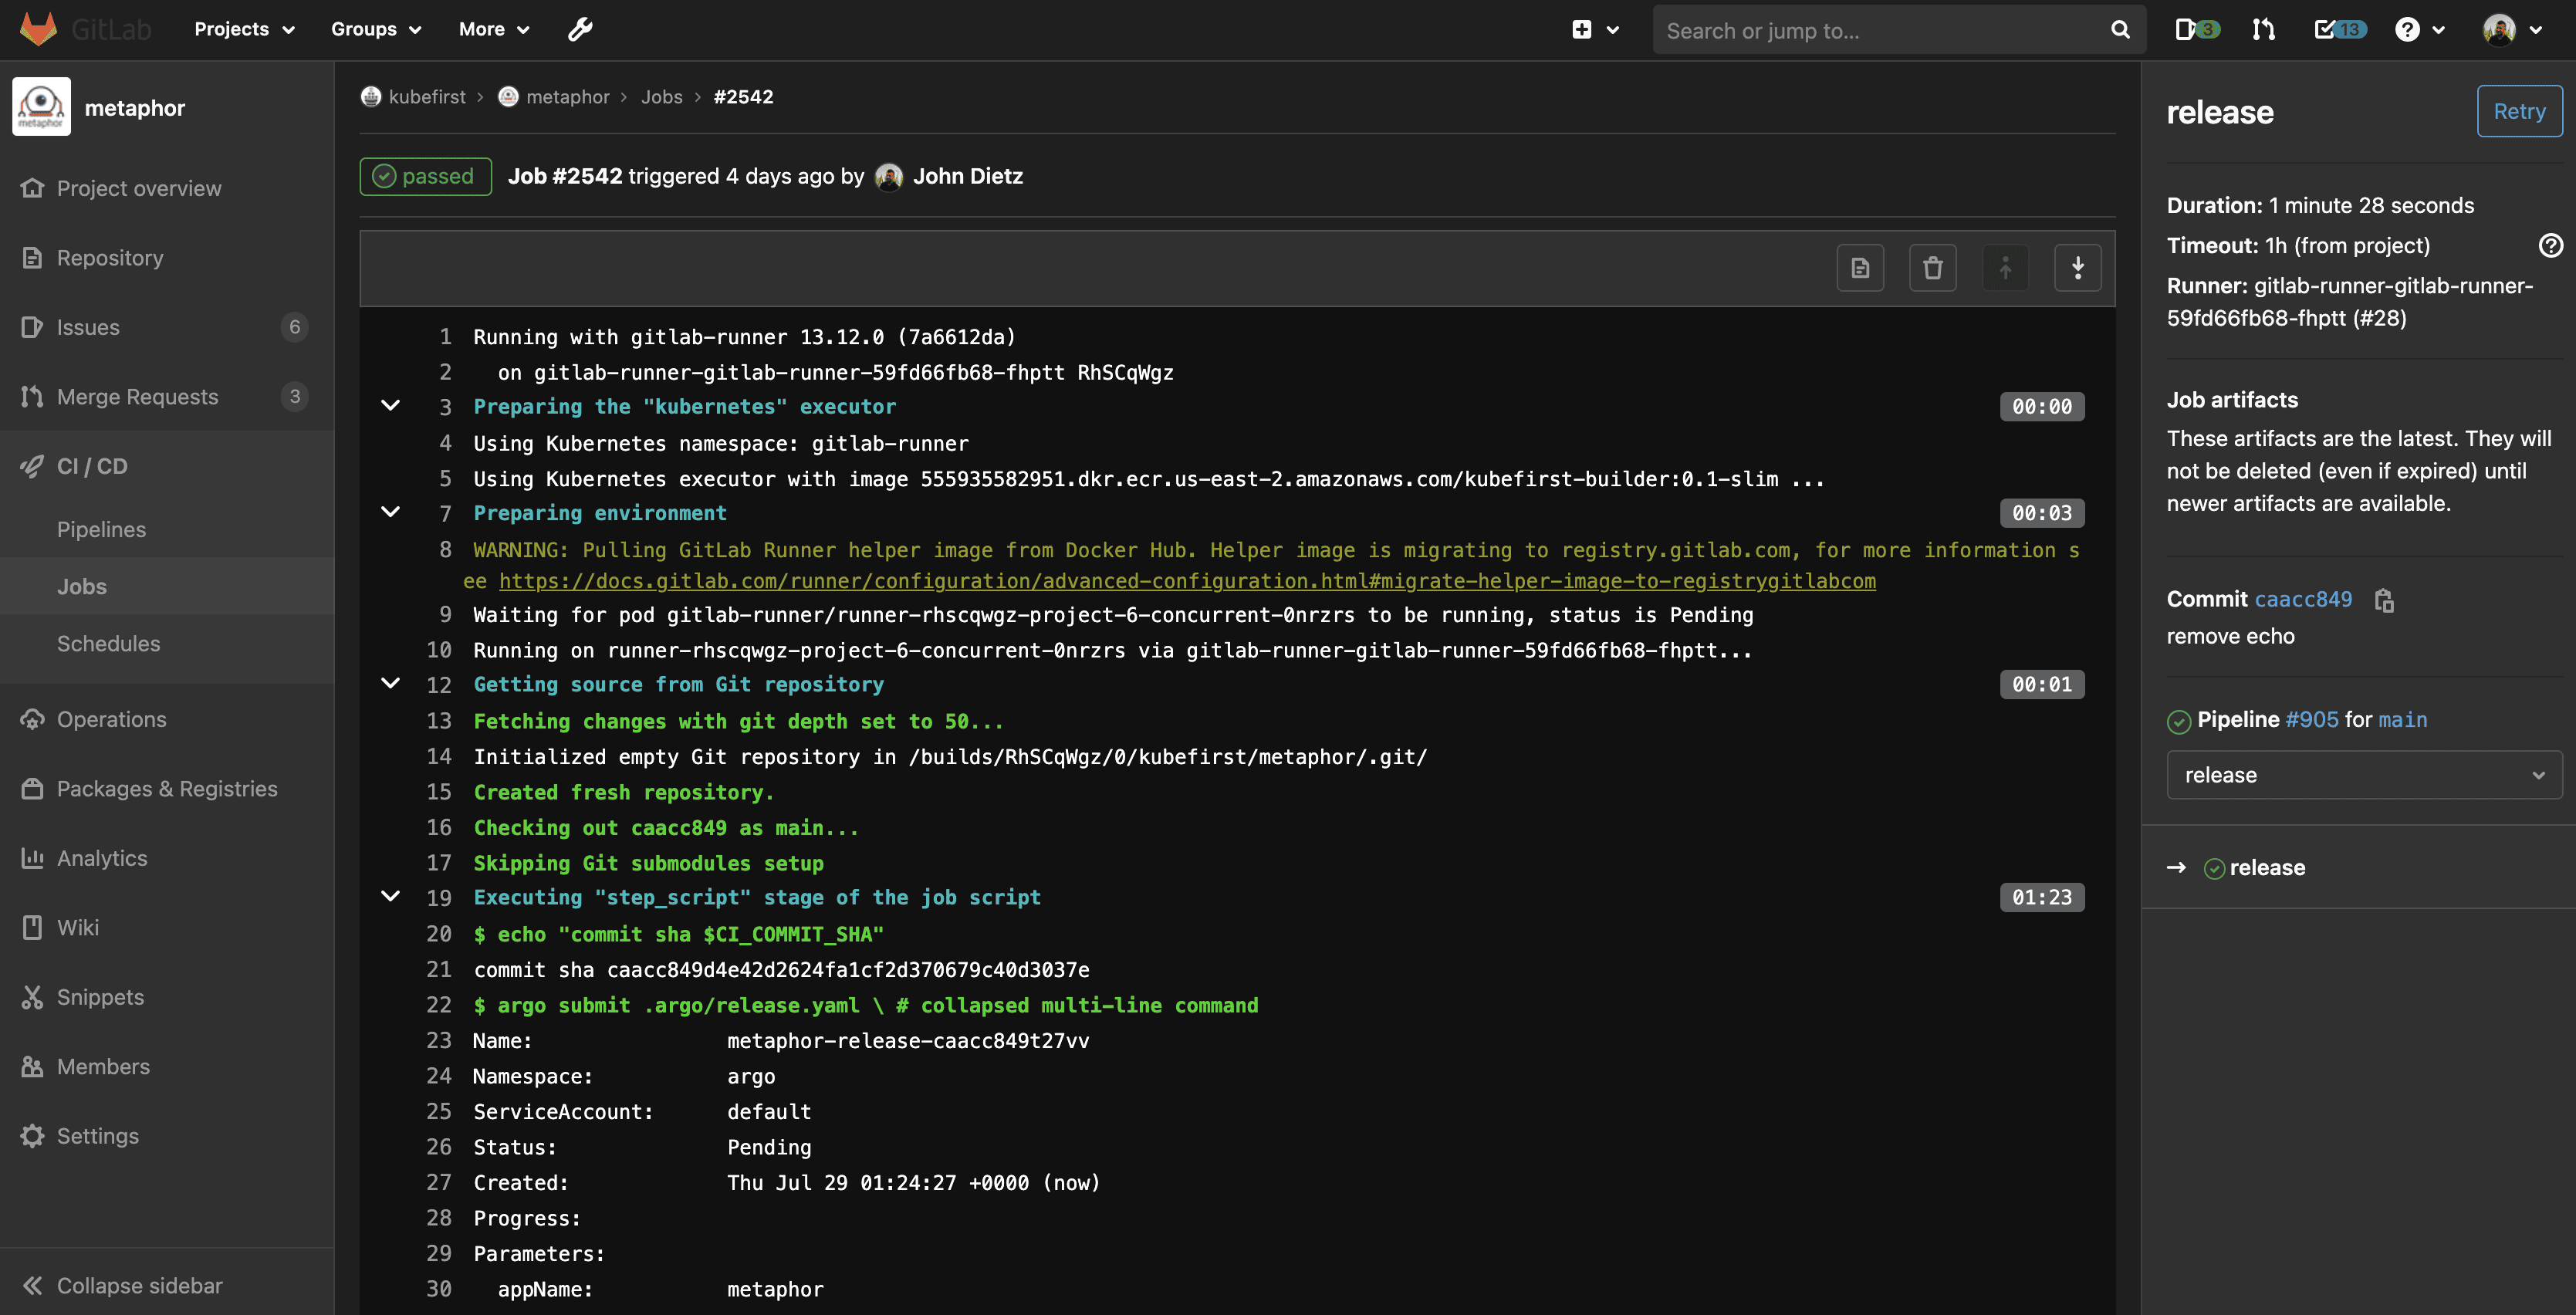
The integration that we've established between GitLab and Argo Workflows will surface your powerful Argo Workflows engine directly in GitLab's native CI, so that your developers have all of the workflow execution information available directly associated with their commit in their application repository.
GitOps Resources
Our registry includes GitOps patterns for numerous source types including:
- Helm Charts
- Wrapper Charts
- Kubernetes Manifest Files
The metaphor example application includes an example of how easy it is to set different configuration overrides for your different environments.
To see what it takes to make the development instance of metaphor different than the others, visit the gitops repository and navigate to /components/development/metaphor/values.yaml
Any Helm value that should deviate from the default chart can be set here so your environment overrides are always concise and clear.
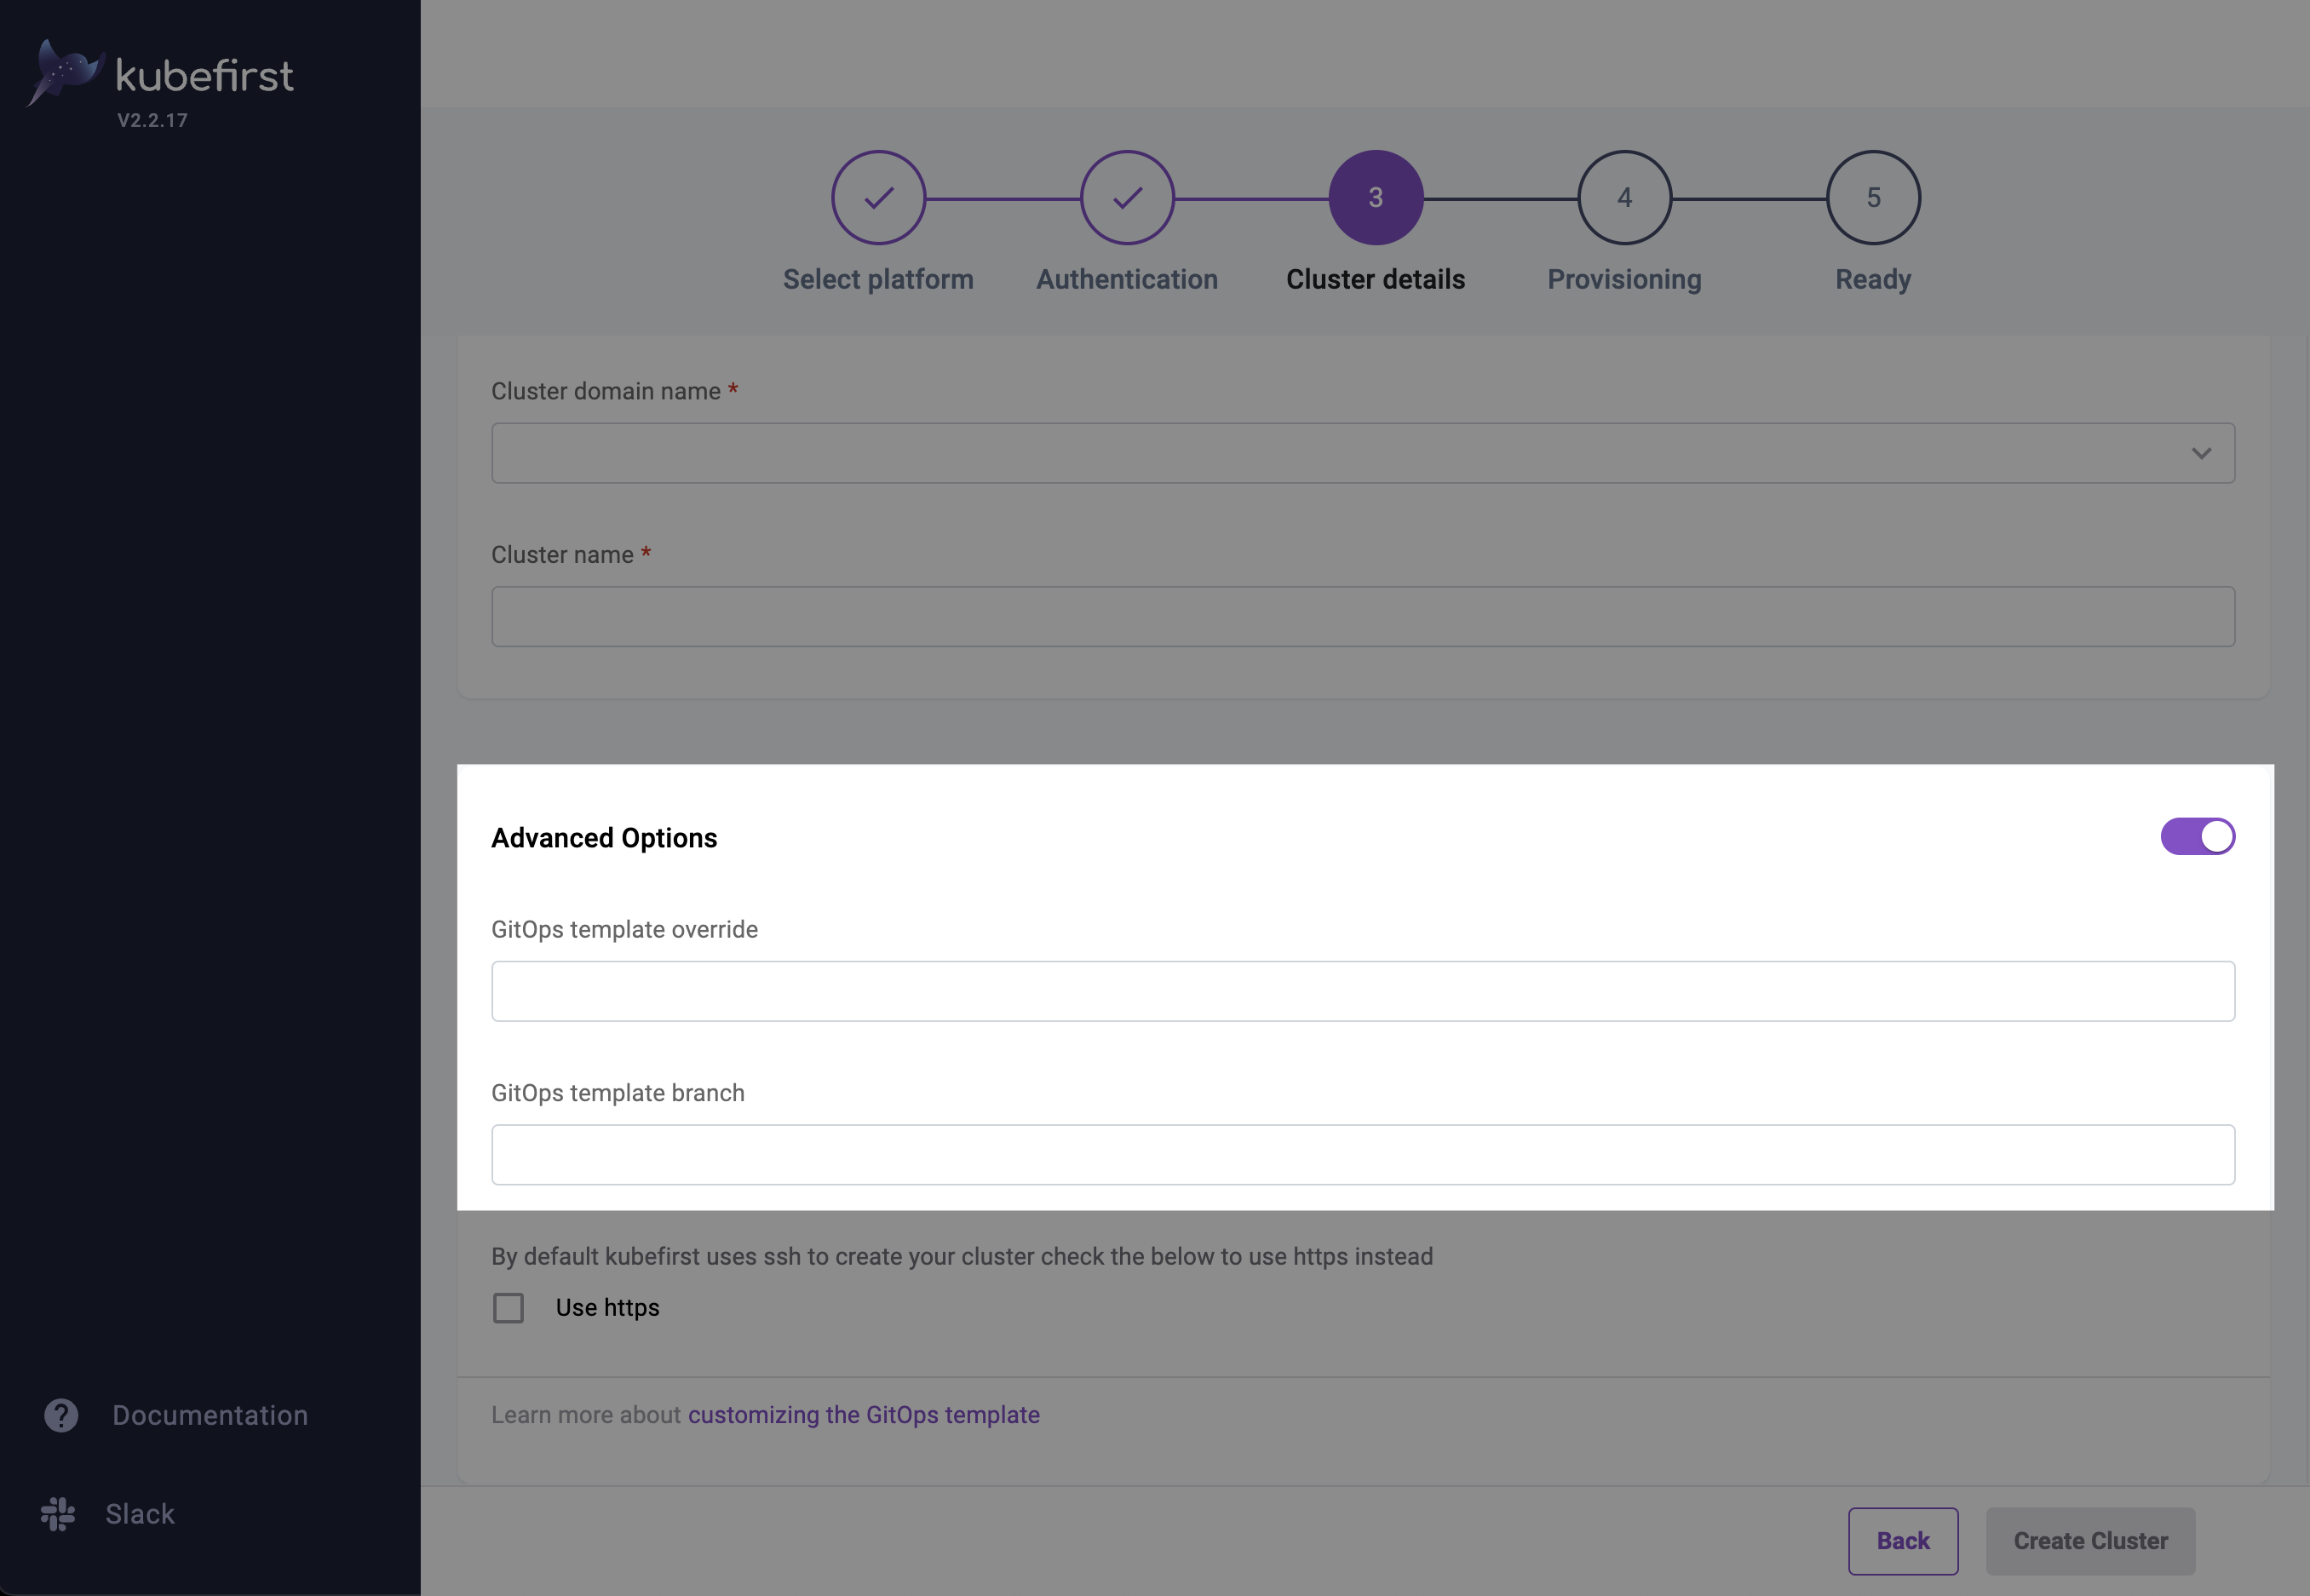
Using Your Own gitops-template Repository Fork
If you want to customize the template before creating a new cluster, you can fork the gitops-template repository, and use it as the source for cluster creation. To do so, follow the forking instructions from GitHub. Note that the tags won't follow, and they may be needed in order for the CLI to properly function. Clone your new repository locally, and once inside the repository folder, run the following commands in your terminal to update your repository with the tags:
# If you give another name to your gitops-template repository, update it also
git remote add upstream git@github.com:kubefirst/gitops-template.git
git fetch upstream
git push --tags
Now you can use the --gitops-template-url flag pointing to your new repository when creating a new Kubernetes cluster.
When the kubefirst CLI checks out the gitops-template-url flag for the repository URL, it will default to checking out the git tag that matches the CLI's version. For example a v2.0.0 CLI would check out the gitops-template-url at the tag v2.0.0. This is not always the desired effect, as you may be forking in order to introduce some new changes to the gitops-template repository structure. In order to checkout the main branch of your forked gitops-template repository instead of the version tag, you need to also include the --gitops-template-branch main flag with your create command.
You can also find the equivalent of these flags in the Advanced Options section of the Cluster details step if you are using the UI installer.