Install kubefirst using the UI
There are a few ways to install kubefirst, whether you have a cluster already or don't.
Step 1: Install kubefirst console
- New cluster
- Helm
No cluster? No problem! Let us create your bootstrap cluster for you as well. We'll install our provisioning tool into it to create your permanent infrastructure.
brew install kubefirst/tools/kubefirst

kubefirst launch up
Then connect to the provisioning tool at https://console.kubefirst.dev
The kubefirst.dev domain is only available after kubefirst launch up and resolves to the host machine.
This will install our platform installer tools to your existing cluster so you can create your new management cluster in your favorite cloud provider using your favorite git provider.
helm repo add kubefirst https://charts.kubefirst.com
helm repo update

helm install kubefirst --namespace kubefirst --create-namespace  kubefirst/kubefirst

kubectl -n kubefirst port-forward svc/kubefirst-console 8080:8080
Then connect to the provisioning tool at http://localhost:8080
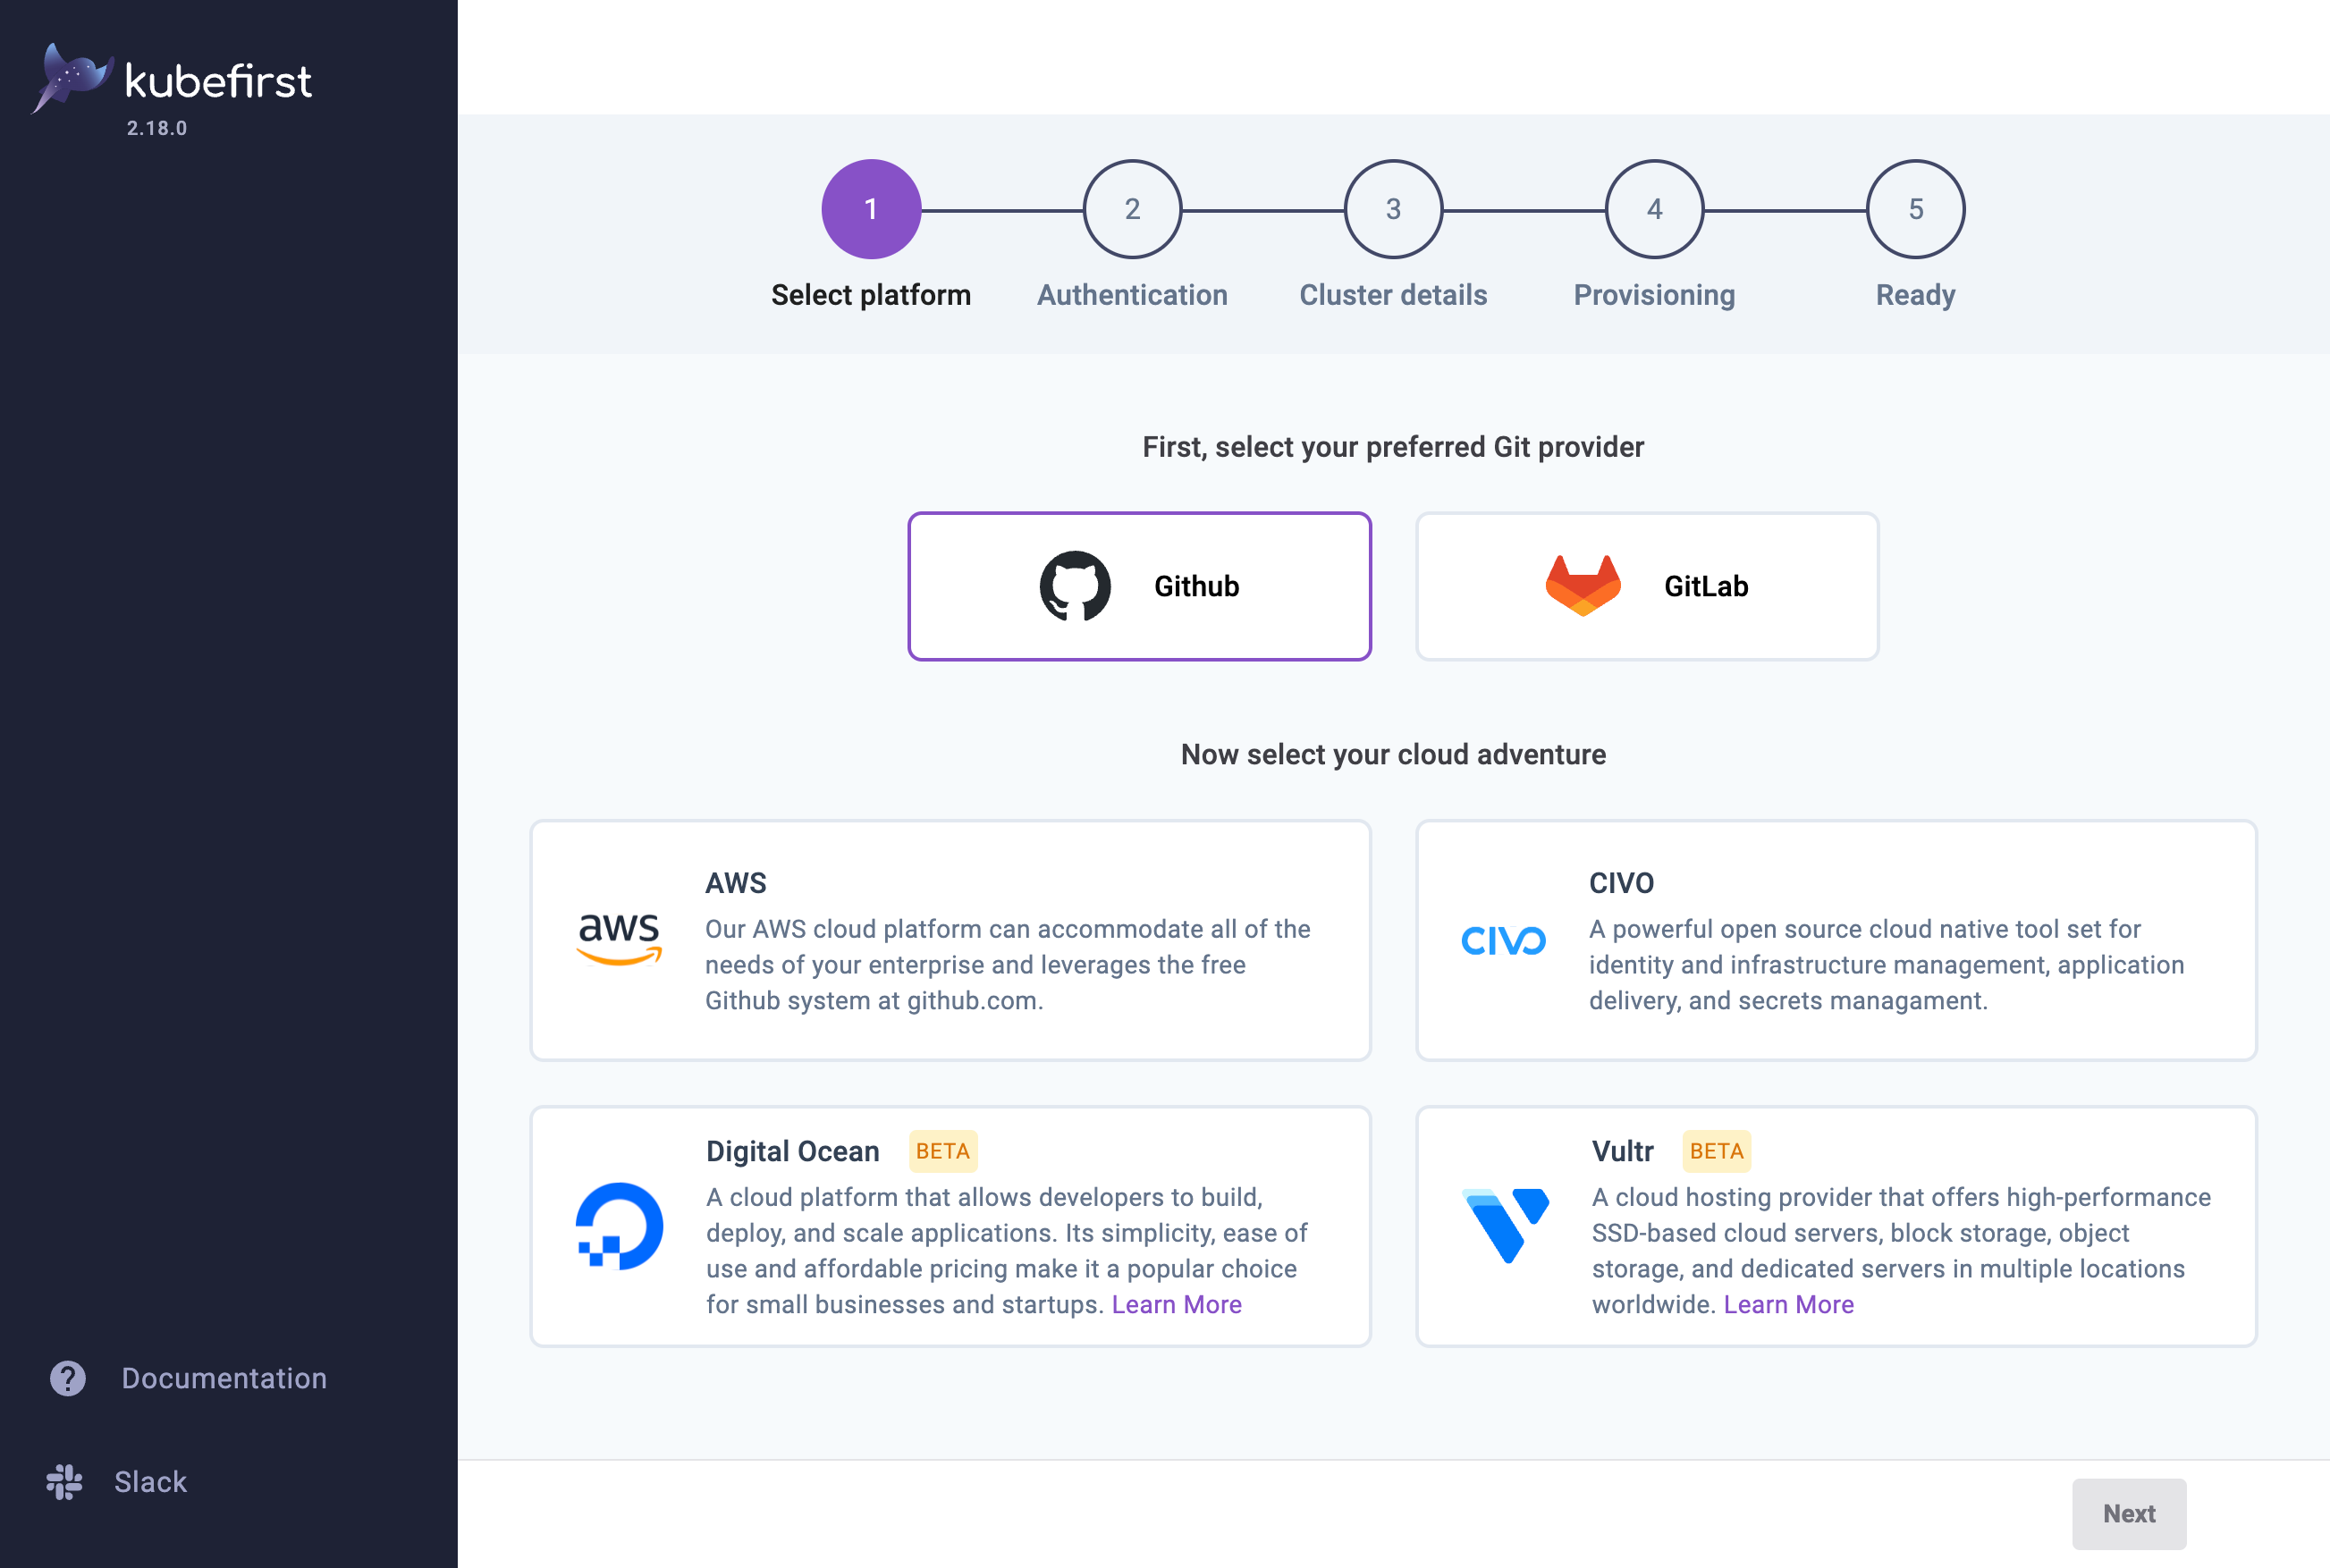
Step 2: Install your kubefirst management cluster
Provide details about your preferred git provider, cloud provider, access, and cluster details and let kubefirst do the rest.
At the end of the process, you will be shown the password of your new administrator account named kbot. You need to use it to connect to the management console. If you forget to copy the password on the last screen, or lost it, you can always retrieve it from Vault. If you want to change the password for something else, please follow this tip from the Vault documentation page.
Once your management cluster is installed, you can safely destroy the Console UI by running kubefirst launch down.